Yes, I too have jumped on the Sharpie mug craze that has been all over Pinterest lately. One big difference though, I’m not using Sharpies! I did a lot of research and found that even the oil bases Sharpies eventually wear off. I instead went with the Pebeo Porcelaine markers. They are specifically designed for china, and are very hardwearing. In Canada they can be ordered from Deserres.ca.
I wanted to give you a tutorial as to how I drew on my mugs. I don’t have lovely free hand writing, so I needed to come up with a method that gave me some guidelines to draw over. The method worked really well! Please excuse the not-so-awesome photos.

The supplies: $ store white mugs, Pebeo markers, rubbing alcohol to remove any mistakes, a graphic, a soft HB pencil, something to burnish with (I used a closed pen), painters tape to stick you design on and a ruler.

I bought the fine and medium size, but wish I had only bought the fine size. The medium was too thick for lettering.
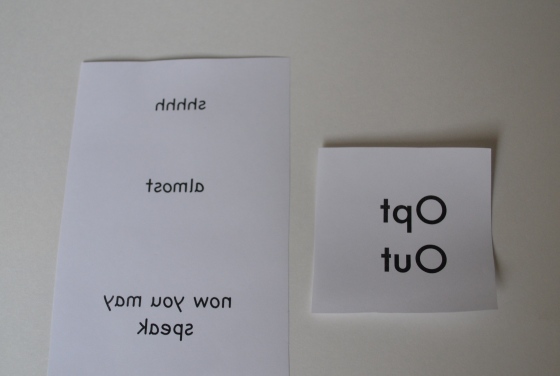
Type out your phrases on Word. You can have fun using different fonts, however I found the simpler text easier to paint over. Save as a pdf file, and in the print settings select layout and flip horizontally.
Draw over your reversed image with a soft HB pencil. You want to go pretty heavy with the pencil so that the graphite will transfer onto the mug.
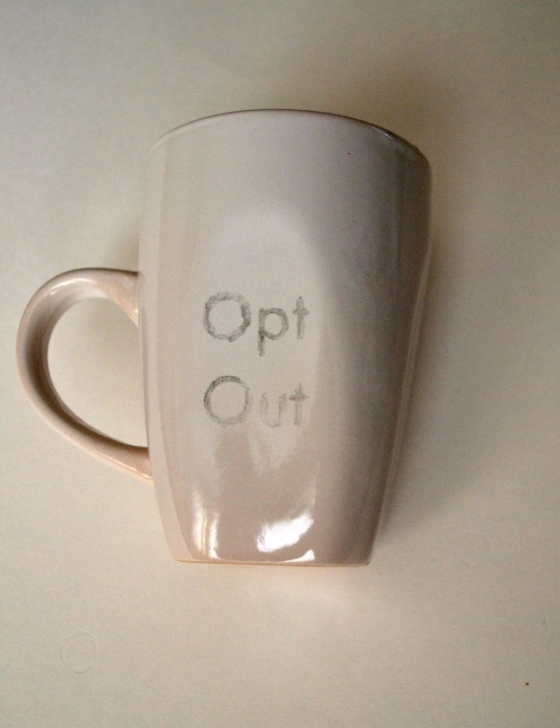
Tape your image onto the mug and burnish over the lettering. Press hard!
Now you can draw over your image with the marker. Let the lettering dry for 24 hours, and then bake at 300 degrees for 35 minutes to make it dishwasher safe.
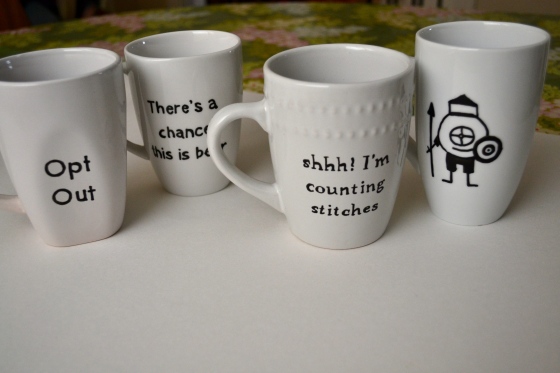
I love how they turned out. The creature on the right was designed by our son Jack. He has created a whole world of Eyeball Guys. We love them, but it took a lot of convincing for him to allow me to draw one on a mug. He is very protective of his designs!


