
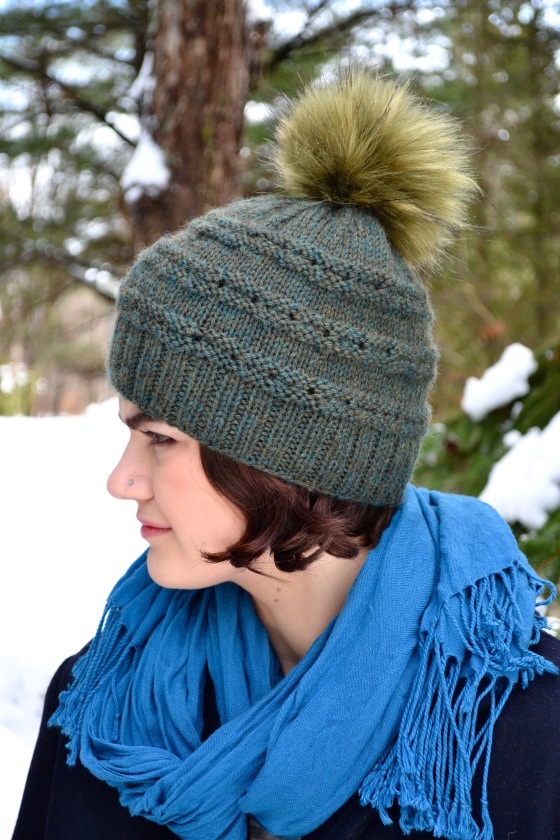
My Eylet Messy Bun Hat Pattern is now available as a download from my Ravelry store! The pattern is $5 CND, which is just over $3.50 USD, and comes in 3 sizes and 2 styles. Your patronage of my store is a huge blessing to our family of eight. Thank you so much!
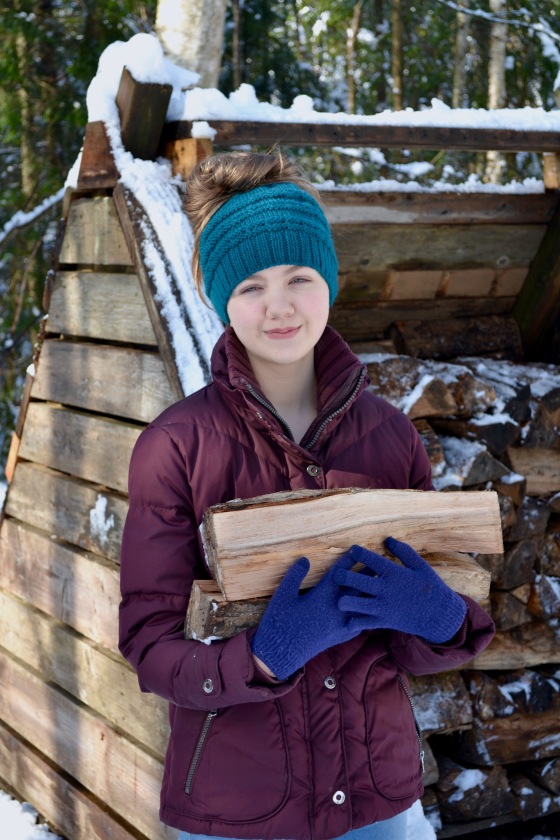
I’ve also created a pattern for a pair of wrist warmers that match the eyelet messy bun hat! The pattern can be found at my Ravelry store.

Eyelet Wrist Warmers


Materials list says 4.5 mm needle but cast on says 5 mm?
Hi Patty. The material list has both needles. You cast onto the 5mm needle, and then transfer the stitches to the 4.5mm circular needle. It allows a little more stretch to the cast on edge. Feel free to skip this step, and cast directly onto the 4.5 mm needle:)
Great pattern! How would you make it longer?
Hi Denise. Instead of knit 5 between the eyelet band, you could knit 6 or 7. You could also knit a couple of extra rows after you finish the hat band rib. That should give you some more length:)
Beautiful hat! What do you mean by “pearl around”? I cannot find that in a tutorial.
I figured it out; it means “pearl a round, pearl a round” – like just pearl two rounds! Got it 🙂
Hey, quick question as I’m still learning 🙂 I have finished the ribbing and before moving onto the body I am wondering if I should do a yarn over to add stitches and if not how do I add more stitches?
Thank you!
Hi Emily. The increase method listed is kfb, which means that you knit through the front loop, keep the stitch on the left needle, and then you knit through the back loop. Feel free to do a yarn over increase though, if that’s what you are comfortable with. Just be sure to knit through the back of the yarn over to avoid a hole:)
Any suggestions for making this larger? (Man sized). Thank you.
Hi Rachel. You could increase the ribbed band by 3 or 6, and then increase the pattern by 4 or 8. You could also add a knit row or two between the pattern bands to make the hat longer. Hope this helps!
When working with the child 6-10 pattern I casted on 84 then did the increase by 4 for a total of 88 stitches.
When doing the Euler pattern of k2, k2tog, yo – on the last 4 stitches you can’t Yo on the end and this only leaves me with 87 stitches? How do I make this work?
I meant eyelet not Euler….sorry spellcheck
Hi Pam. I’m not sure that I understand your question. Are you working with circular needles? If so, you should be able to put the yarn over the needle, and then on the next round, knit into the front of that yarn over. I’m sorry that I can’t help more! Perhaps there is a youtube tutorial that demonstrates it?
Hi Miranda yes I am working with circular. If I put the yo at the end of that round, then the next round is pearl so my yarn will just come off the needle of that makes sense
Is the wool double knit or chunky knit?
The pattern requires worsted weight yarn:)
Hi Miranda. This is a beautiful hat. My query is the meaning of BO at the end of the instructions for the Messy Bun hat please.
Hi Christy. It means bind off the stitches:)
Can I knit this in a 8ply?
Hi Debbie! I had to do a little research on 8ply, but it looks like it’s the equivalent on DK, which is lighter weight than worsted. You’d have to play with the needle size to get the gauge right, but it may work!
Just wondering what you mean by worsted weight? Is this a chunky yarn or regular weight yarn like Red Heart?
Hi Kara. Worsted weight yarn is medium weight. It’s heavier than sport/baby weight yarn, and lighter than chunky/bulky yarn. I’m not familiar with Red Heart brand, so I’m not able to be more specific. Most yarns list the weight on the label sleeve. You can also find the right weight by matching the gauge. Hope this helps!
I left a comment for you on Ravelry, but then I also found this. So, I decided to leave a note on here as well. On the pattern that I have the numbers on the decrease rows do not make any sense. Have you had updates? I won’t repeat everything on here that I did on Ravelry. Please get back to me as soon as possible since we are trying to get this knit for gifts. It is a cute hat. Thanks.
Hi Ginny. I replied on Ravelry, but thought I’d answer here too! After ribbing the pattern instructs to increase across by 4, giving you a total of 100 stitches. Then when you do your first decrease you will be back down to 96. Let me know how you make out with the pattern:)